Table of Contents
As an Amazon Associate, we earn from qualifying purchases. This means we may receive a small commission at no extra cost to you when you buy through links on this page.
Introduction: The Freedom of Solo Camping
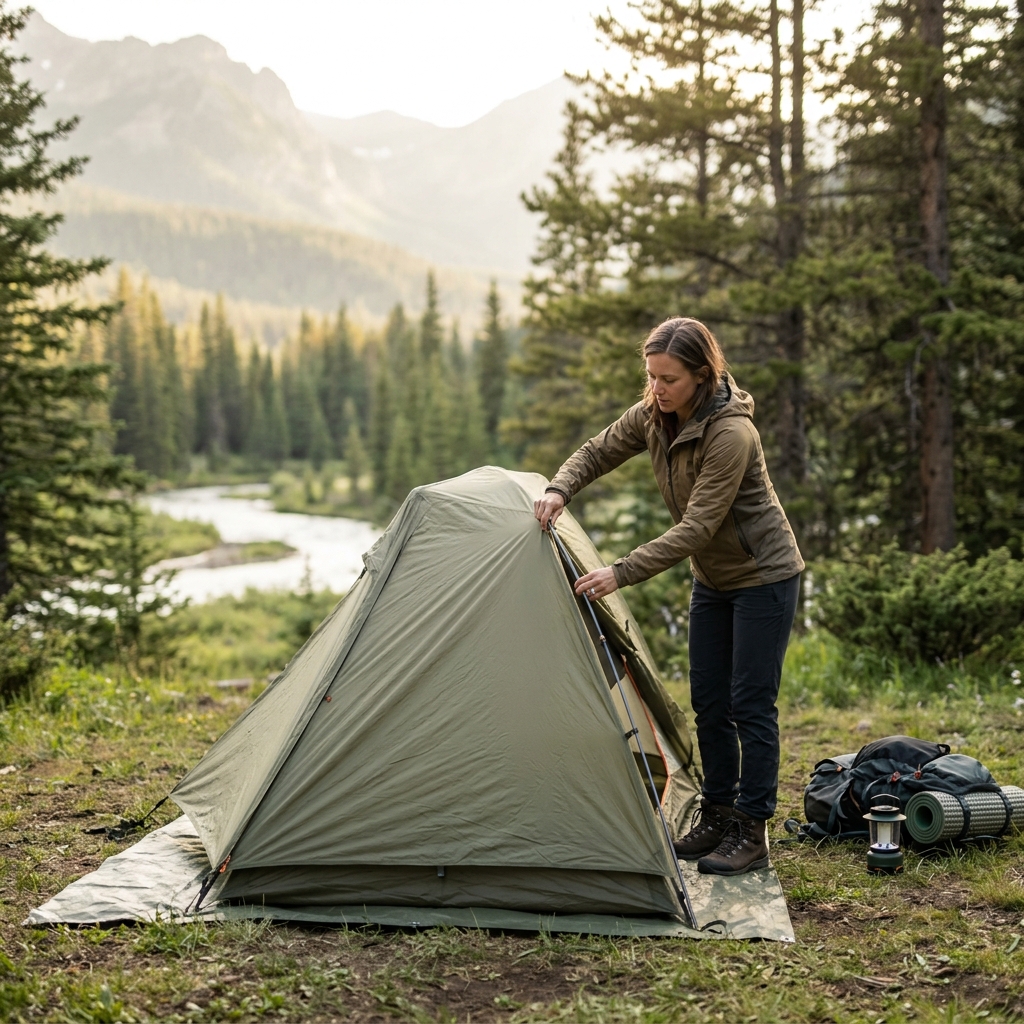
There’s a unique sense of freedom and accomplishment that comes with solo camping. Disconnecting from the everyday, immersing yourself in nature, and relying on your own resourcefulness – it’s a truly rewarding experience. However, one of the biggest hurdles for new solo campers is often the thought of pitching a tent alone. It can seem daunting, especially if you’re used to having a partner to help. But fear not! With the right preparation, technique, and a little practice, pitching a tent solo is absolutely achievable. This guide will equip you with everything you need to confidently set up camp, leaving you free to enjoy the peace and quiet of the wilderness.
Choosing the Right Tent for Solo Pitching
Not all tents are created equal, and some are significantly easier to pitch solo than others. Here’s a breakdown of tent types suited for the lone camper:
- Backpacking Tents: These are lightweight and compact, ideal for hikers. Often require more careful pitching but can be incredibly efficient once mastered.
- Dome Tents: A popular all-rounder, dome tents generally offer a good balance of space, stability, and ease of pitching. Many feature colour-coded poles which are a huge help.
- Pop-Up Tents: The quickest option, but often heavier and less robust. Great for festivals or casual camping, but not ideal for challenging conditions.
When choosing a tent for solo pitching, consider these features:
- Lightweight Design: Less weight means easier handling, especially when you’re working alone.
- Colour-Coded Poles: A lifesaver! This makes it much easier to identify which pole goes where.
- Simple Setup: Look for tents with minimal clips and straightforward instructions.
- Weather Resistance: Consider the conditions you’ll be camping in – a tent with a good waterproof rating and sturdy construction is essential for wet or windy weather.
Pre-Pitch Preparation: Location, Location, Location!
Before you even take the tent out of its bag, take the time to choose a good campsite. This is crucial for a comfortable and safe experience:
- Level Ground: Find a flat area to avoid rolling around in your sleep.
- Drainage: Avoid low-lying areas where water might collect in case of rain.
- Obstacles: Clear away rocks, twigs, and pine cones to protect the tent floor.
- Wind Direction: Position the tent with the narrowest end facing into the prevailing wind to minimise wind resistance.
- Groundsheet: Always use a groundsheet to protect the tent floor from abrasion and moisture.
Step-by-Step Guide to Pitching a Dome Tent Alone
Let’s focus on pitching a standard dome tent, as this is a common choice. These instructions assume a typical two-pole dome tent.
- Lay Out the Tent: Spread the tent body on the ground, ensuring the door is facing the desired direction.
- Insert the Poles: Assemble the tent poles, usually by connecting segmented pieces. Use the colour-coding to match poles to their corresponding sleeves or clips.
- Thread the Poles: Carefully feed the poles through the sleeves on the tent body. This can require a bit of gentle persuasion!
- Attach to Clips/Sleeves: Once the poles are through, secure them to the tent body using the clips or sleeves. Start at one corner and work your way around.
- Raise the Tent: As you attach the poles, the tent will begin to take shape. Gently lift the tent into its upright position.
- Secure Guy Lines: Attach the guy lines to the tent and peg them down at a 45-degree angle, pulling them taut. This provides stability, especially in windy conditions.
- Attach the Flysheet: Drape the flysheet over the tent, aligning it correctly. Secure it with clips or buckles.
- Peg Down the Flysheet: Peg down the flysheet, ensuring it’s taut and doesn’t touch the tent body.
Common Mistakes to Avoid:
- Forgetting to clear the ground properly.
- Incorrectly inserting the poles – double-check the colour coding!
- Not pulling the guy lines taut enough.
- Pegging the flysheet too loosely.
Pitching a Backpacking Tent Solo: Techniques for Efficiency
Backpacking tents often require a slightly different approach. Look for tents that can be pitched using trekking poles for support, reducing the need for a separate pole structure. Minimalist pitching options, where you only pitch the inner tent and flysheet without all the guy lines, can save time and weight, but offer less stability.
Dealing with Wind and Challenging Conditions
Wind is your biggest enemy when pitching a tent alone. Use extra guy lines and robust tent pegs (like the Lifeline Aluminium Tent Pegs (£14.99) or even titanium pegs like Terra Nova Competition Tent Pegs (£39.99)) to provide additional anchoring. If the ground is uneven, try to find a slightly sheltered spot or use rocks to help level the tent. A good quality groundsheet is crucial in wet conditions to prevent water from seeping in.
Essential Gear for Solo Tent Pitching
Having the right tools can make all the difference:
- Tent Peg Hammer: Essential for driving pegs firmly into the ground.
- Guy Line Tensioners: Help you easily adjust the tension of the guy lines.
- Groundsheet: Protects the tent floor.
- Tent Repair Kit: A vital backup for fixing minor tears or broken poles. The Snugpak Softie Expansion 4 Tent Repair Kit (£19.95) is a good all-rounder.
- Headlamp: Essential for pitching in low light. The Black Diamond Spot 400 Headlamp (£45.00) is a popular choice.
Practice Makes Perfect: Tips for Building Confidence
Don’t wait until you’re in the middle of nowhere to try pitching your tent for the first time! Practice in your garden or a local park. Start slowly, follow the instructions carefully, and time yourself. The more familiar you are with the process, the more confident you’ll become.
Troubleshooting Common Issues
Here are some solutions to common problems:
- Broken Pole: Use the repair sleeve from your repair kit to splint the pole.
- Missing Pegs: Improvise with strong sticks or rocks.
- Difficulty with Guy Lines: Ensure the lines are properly attached and angled correctly.
Conclusion: Enjoy Your Solo Adventure!
Mastering the art of pitching a tent alone opens up a world of possibilities for solo camping adventures. It’s a skill that builds confidence, encourages self-reliance, and allows you to fully immerse yourself in the beauty of nature. So, practice, prepare, and embrace the freedom of the solo camping experience!
FAQ
What tent is best for a first-time solo camper?
A dome tent, such as the Coleman Sundome 2 Person Tent (£89.99), is a great starting point. They’re relatively easy to pitch and offer a good balance of space and affordability.
How long does it typically take to pitch a tent alone?
With practice, you should be able to pitch a dome tent alone in 10-20 minutes. Backpacking tents might take a little longer, especially at first.
What should I do if it’s raining when I need to pitch my tent?
Try to find a sheltered spot if possible. Work quickly and efficiently, and ensure the flysheet is securely attached to keep the rain off. A large groundsheet is your friend! Consider wearing waterproofs.
Is it safer to camp alone?
Solo camping requires extra preparation and awareness. Always tell someone your plans, carry a fully charged phone or satellite communication device, and be mindful of your surroundings.
Are expensive tents worth it?
Investing in a good-quality tent, like the Vango Tempest Pro 200 Tent (£229.99) or the Outwell Montana 4P Tent (£349.99), can be worthwhile if you plan to camp frequently or in challenging conditions. They’ll be more durable, weather-resistant, and comfortable.