Table of Contents
As an Amazon Associate, we earn from qualifying purchases. This means we may receive a small commission at no extra cost to you when you buy through links on this page.
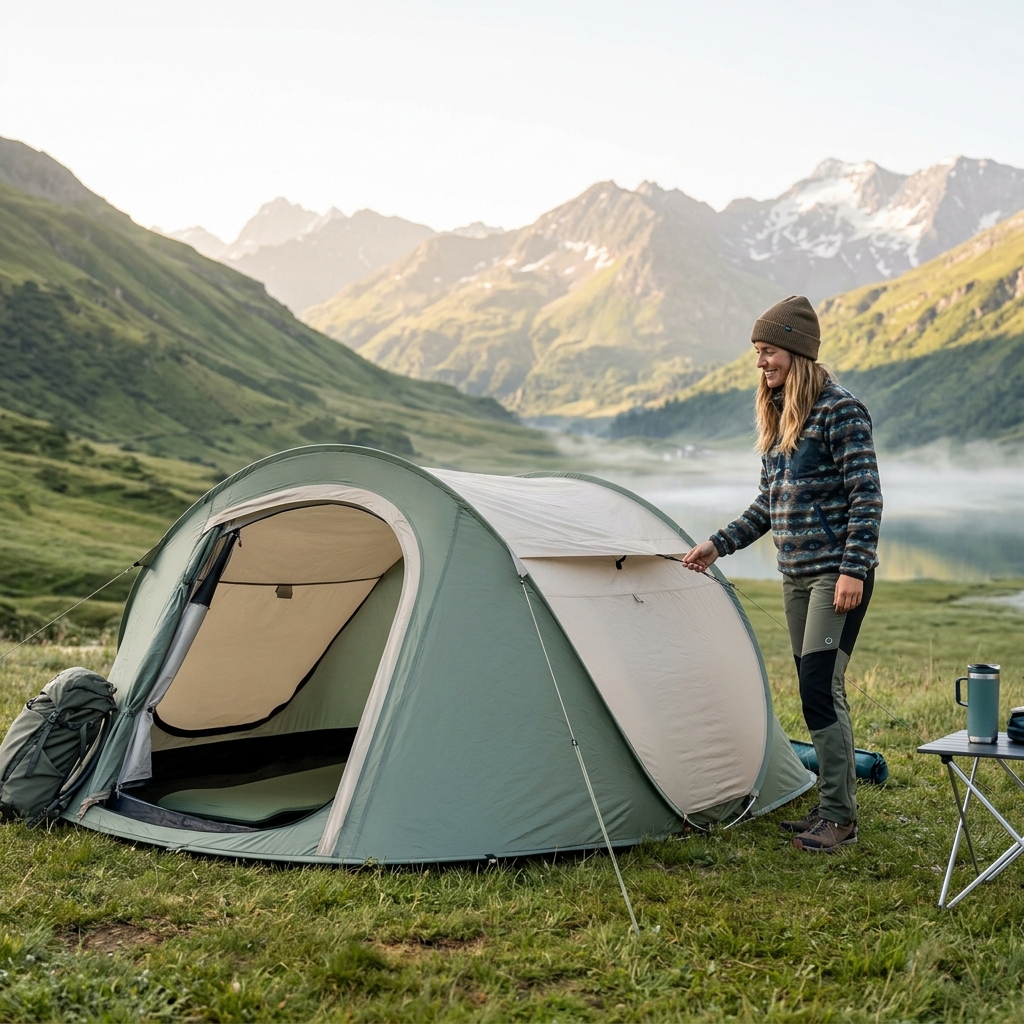
Introduction: The Convenience of Pop Up Tents
Pop up tents have revolutionised camping in the UK, offering unparalleled convenience for quick getaways. No more wrestling with complicated pole systems – these tents are designed for near-instantaneous setup, making them perfect for festivals, family camping, and spontaneous adventures. Their popularity continues to grow, and in 2026, we’re seeing significant advancements. Lighter-weight ripstop nylon fabrics are becoming standard, offering improved durability without adding bulk. Waterproofing technology, featuring enhanced PU coatings and taped seams, is now more effective than ever before, keeping you dry even in typical British weather. Furthermore, ‘smart tent’ features – like integrated USB charging ports powered by small solar panels and built-in ambient lighting – are starting to appear in higher-end models. However, even with these advancements, a solid setup guide remains essential to ensure a smooth and enjoyable camping experience.
What’s in the Bag? Unboxing & Identifying Components
Before you even think about erecting your tent, let’s take a look at what you should find inside the carry bag. While specifics vary between models, a typical pop up tent package will include:
- Tent Fabric: The main body of the tent, usually made of polyester or nylon.
- Poles (Sometimes): Some pop up tents are truly pole-less, relying on a sprung frame. Others utilise a minimal number of fibreglass or aluminium poles for added stability.
- Pegs: Used to secure the tent to the ground. You’ll usually get a mix of steel and plastic pegs.
- Guy Lines: Ropes used to provide extra stability, particularly in windy conditions.
- Instructions: Often minimal! Don’t be surprised if it’s just a diagram.
- Carry Bag: For easy transportation and storage.
Visual Example: Imagine a Vango Momentum 2 Person Pop Up Tent. The bag contains the neatly folded tent, a small bag of steel pegs, a bundle of guy lines, and a very concise instruction sheet.
Step-by-Step Setup Guide: The Throw & Pop Method
The beauty of a pop up tent lies in its simplicity. Here’s how to set one up using the ‘throw and pop’ method:
- Choose a Flat Surface: Clear the area of any rocks, twigs, or sharp objects.
- Unpack the Tent: Remove the tent from the carry bag.
- The Throw: Holding the tent loosely, throw it into the air. This allows the sprung frame to unfold. Don’t throw it *too* hard, but give it a good toss!
- Flatten and Position: As the tent unfolds, gently guide it down and flatten it into its intended shape.
- Initial Securing: Start with the corners, inserting pegs through the loops provided. Don’t hammer them in fully yet.
Important Note: If the tent doesn’t pop open fully, gently manipulate the frame to encourage it to extend. Avoid forcing it, as this could damage the mechanism.
Securing Your Pop Up Tent: Pegging & Guy Lines
Once the tent is roughly in place, proper pegging and guy lines are crucial for stability, especially when the weather turns.
Peg Types & Their Uses
| Peg Type | Material | Best Used For | Approximate Price (Per Pack of 20) |
|---|---|---|---|
| Steel Pegs | Steel | Hard, rocky ground. Provide strong holding power. | £8.99 |
| Plastic Pegs | Plastic | Softer ground (grass, loam). Lightweight and easy to use. | £5.99 |
| Herringbone Pegs | Steel or Plastic | Versatile; good for various ground conditions. Offer good grip. | £12.99 |
Pegging Techniques
- Angle: Drive pegs in at a 45-degree angle, pointing *away* from the tent.
- Depth: Ensure the majority of the peg is buried, leaving only a small loop for attaching the guy lines.
- Ground Types: In hard ground, use a mallet or your foot to carefully drive the pegs in. In soft ground, you can usually push them in by hand.
Using Guy Lines
Attach guy lines to the loops on the tent and stake them out at a similar 45-degree angle. Tighten the lines to create tension, improving stability and preventing flapping. This is particularly important on exposed campsites.
Troubleshooting Common Pop Up Tent Setup Issues
Even with a straightforward design, occasional problems can arise:
- Tent Won’t Pop Open: Gently manipulate the sprung frame, working your way around the tent. Ensure nothing is obstructing the unfolding process.
- Struggling to Fold it Back Down: This is the most common issue! Follow the manufacturer’s instructions carefully (if you can decipher them!). Often, it involves pressing down on the top of the tent while twisting and folding it into a figure-of-eight shape. YouTube tutorials are your friend here.
- Broken Poles (If Applicable): If a pole breaks, it’s usually best to replace it. Contact the manufacturer or a camping retailer for a replacement.
- Water Ingress: Ensure all seams are properly sealed. In 2026, readily available waterproofing sprays and seam sealants offer excellent protection (around £15-£25 per can).
Pop Up Tent Maintenance & Care for Longevity (2026 Focus)
To keep your pop up tent in top condition for years to come:
- Cleaning: After each trip, brush off any dirt or debris. Use a mild soap and water solution to clean the fabric.
- Drying: Thoroughly dry the tent before storing it to prevent mildew. Air drying is best.
- Storage: Store the tent in a dry, well-ventilated place. Avoid prolonged exposure to sunlight.
- Waterproofing (2026 Update): New nano-technology waterproofing treatments are available in 2026, offering superior water repellency and UV protection. These typically cost between £20-£40 per application.
- Frame Care: Regularly inspect the sprung frame for any signs of damage.
Essential Accessories to Enhance Your Pop Up Tent Experience
These accessories can add comfort and convenience to your camping trip:
- Pop Up Tent Footprint/Groundsheet (Universal): Protects the tent floor from damage and provides an extra layer of waterproofing. (£24.99)
- LED Camping Lantern – Rechargeable: Provides bright, energy-efficient lighting. (£39.99)
- Tent Carpet: Adds comfort and warmth to the interior.
- Storage Solutions: Organisers and pouches help keep your tent tidy.
Choosing the Right Pop Up Tent: A Quick Buyer’s Guide
Consider these factors when selecting a pop up tent:
- Capacity: How many people will be sleeping in the tent?
- Waterproof Rating: Look for a hydrostatic head rating of at least 2000mm.
- Weight: Important if you’ll be carrying the tent any distance.
- Features: Consider features like ventilation, windows, and storage pockets.
Conclusion: Enjoy Your Hassle-Free Camping Trip!
Pop up tents offer a fantastic way to enjoy the great outdoors with minimal fuss. By following this guide, you’ll be able to set up and enjoy your tent quickly and easily, leaving you more time to relax and create lasting memories. So, pack your bags, grab your tent, and get ready for a hassle-free camping adventure!